Cisco 7925G with Asterisk
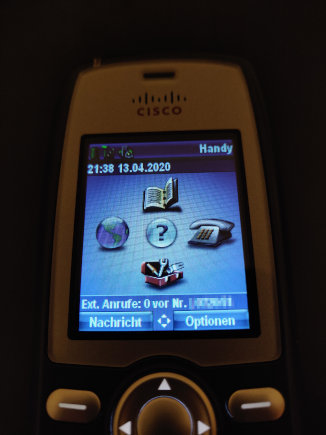
Continuing my Cisco IP Phones on Asterisk via SCCP series, I’m just going to write down some information about getting the 7925 to work with Asterisk. However, most of the following information should be applicable to the Cisco 7921 and the Cisco 7926 too.
I used the 1.4.8.4 firmware (cmterm-7925-sccp.1-4-8-4.zip) to register the phone.
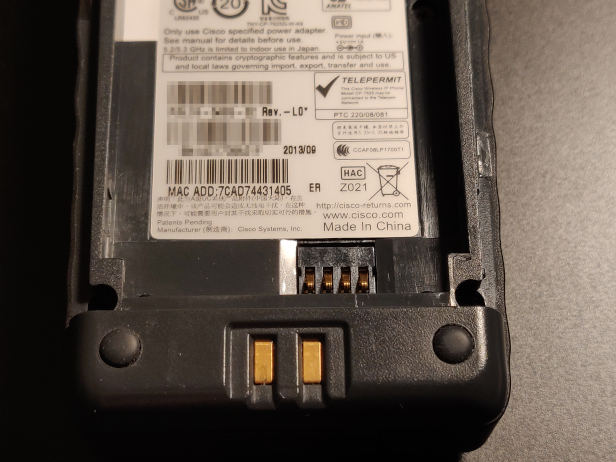
As always, you’ll need to get the MAC address of your phone first. Go into the phone settings or remove the battery, there should be a sticker with the MAC address printed on it.
Firmware upgrades are a little bit different with these phones: You’ll have to use a USB cable or connect the phone to your Wireless network in order to upgrade the firmware. But be warned: cmterm files don’t work with the USB upgrade feature, you’ll have to use a CP7925G-*.tar file if you want to use the USB upgrade.
Here’s my SEPMAC.cnf.xml file for the 7925 as an example:
https://www.encrypted.at/cisco-7925-sepmac-cnf-xml/
To get the TFTP upgrade to work, you’ll have to add the following line to your XMLDefault (for the 7925):
<loadInformation484 model="Cisco IP Phone 7925">CP7925G-1.4.8.4</loadInformation484>Make sure to mention it in your SEP<MAC>.cnf.xml file too:
<loadInformation>CP7925G-1.4.8.4</loadInformation>sccp.conf entry
; ---------------------- 205 ----------------------

[SEPXXXXXXXXXXXX]
description = Mobile
devicetype = 7925
button = line,205
type = device
keepalive = 60
transfer = on
cfwdall = on
cfwdbusy = off
cfwdnoanswer = off
dnd = silent
directrtp=off
earlyrtp = progress
mwilamp = wink
transfer = on
park = on

[205]
id = 205
type = line
mailbox = 205
vmnum = *205
pin = 205
label = 205
description = 205
cid_name=Mobile
cid_num=205
context = phones
incominglimit = 4
transfer = on
secondary_dialtone_digits = 9
secondary_dialtone_tone = 0x22
musicclass=default
language=de
echocancel = on
silencesuppression = off
Administration web interface
As mentioned earlier, you can upgrade the firmware using the web interface of the phone – to do that, connect your phone via USB to your computer and configure the newly created network interface as follows:
IP address: 192.168.1.150
Subnet mask: 255.255.255.0
You should now be able to access the web interface of the phone at
https://192.168.1.100
If you’re using Firefox and you’re getting an SSL_ERROR_BAD_MAC_ALERT, try adding the IP address in your about:config to the security.tls.insecure_fallback_hosts entry (comma-seperated).
Default credentials
Username: admin
Password: Cisco
When you’ve configured the network profile, you’ll also be able to access this web interface with the new Wireless IP address.
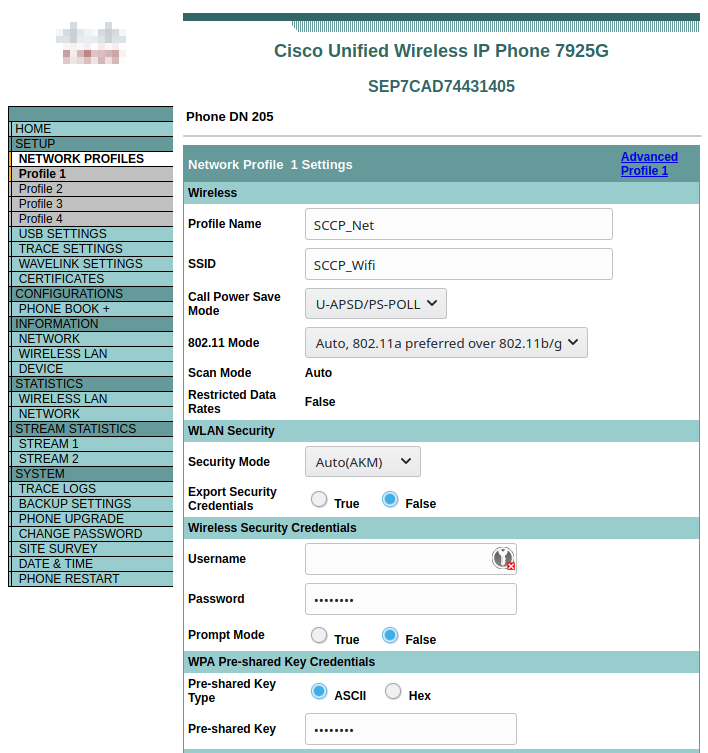
Configuring the Wireless Network
If you’re using WPA2-PSK, make sure to select Auto (AKM) as the Security Mode of your network profile. You should be able to leave the rest of the settings at the default values. Enable the profile after you created it.
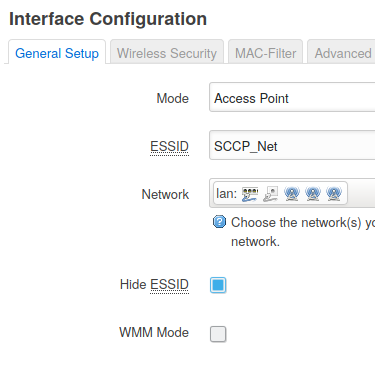
Potential problems
As described in https://github.com/chan-sccp/chan-sccp/wiki/Wireless-IP-Phones-7921-7925-7926, if the phone doesn’t have a stable connection or doesn’t ring in standby, try to disable/toggle WMM mode in your router.
Log message example:Closing session because connection timed out after 98 seconds
That’s it!
Your phone should now work with your Asterisk server.
Take a look at the Wiki for some more XML configuration options:
https://github.com/chan-sccp/chan-sccp/wiki/Wireless-IP-Phones-7921-7925-7926
Factory resetting and unlocking the phone settings
To reset the phone to factory default settings, open the settings and go to “Phone Settings”. Now, press **2 quickly and confirm by pressing the “Yes” softkey.
To unlock a setting, press **# .
No comments yet.