Changing the Firefox captive portal URL
In the following post, you’ll learn how to change the captive portal and connectivity check URL in the Firefox browser.
What is a captive portal?
Ever been connected to a public or hotel WiFi? Chances are, if you tried to connect to it, your phone notified you that you had to “Sign in to Wi-Fi network” – and that’s what a captive portal is: The page that has to be accepted before being able to surf on the net. In some cases like in a hotel, you might have to log in on that page too. You can read more about captive portals on Wikipedia.
But, why should I change it?
Well, in newer Firefox versions, every time you start the browser, it tries to access the following URL:
Firefox versions 89 and higher:
http://detectportal.firefox.com/canonical.htmlFirefox versions before 89:
http://detectportal.firefox.com/success.txtSelf-hosting this page stops our browser from contacting the URL – so… why don’t we just self-host it?
Self-hosting it
To self host the page, you just need a web server and upload (or create) a static file. Also, ensure that your web server doesn’t enforce or forward to the HTTPs equivalent of your site.
Content of the file
The file should only consist of a single line:
Firefox versions 89 and higher:
<meta http-equiv="refresh" content="0;url=https://support.mozilla.org/kb/captive-portal"/>Firefox versions before 89:
successMake sure that there is no line break/new line after the last letter!
If you want to, you can download the file from Mozilla’s server using wget:wget http://detectportal.firefox.com/<filename e.g. canonical.html or success.txt>
Or, create the file by starting your favorite editor – make sure to turn of automatic line breaks at the end of the file.
nano -L <filename e.g. canonical.html or success.txt>Changing the URL
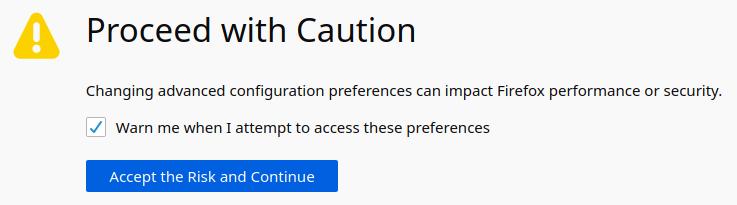
Changing the URL(s) is easy: Type about:config into the address bar in Firefox.
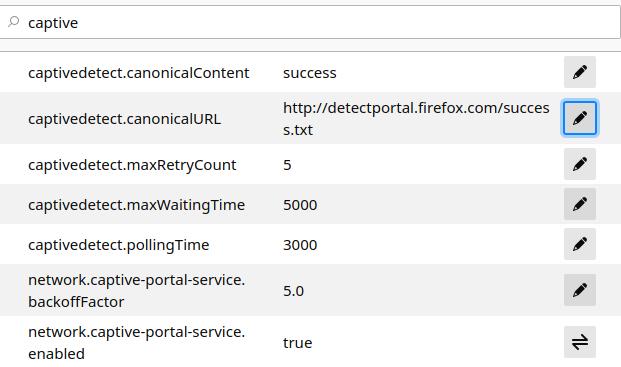
First, change the URL for the entry captivedetect.canonicalURL – or, if you want to, turn off the captive portal check completely by setting network.captive-portal-service.enabled to false.
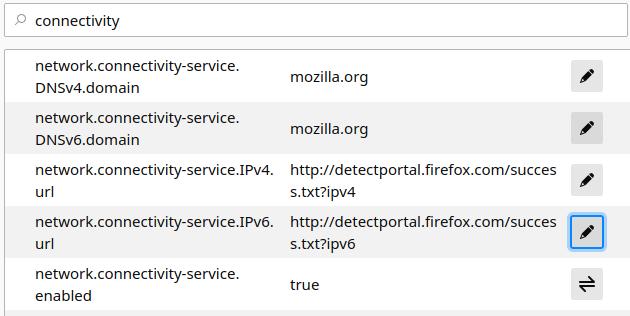
After that, we’re going to do the same thing again for network.connectivity-service.IPv4.url and network.connectivity-service.IPv6.url.
You may also disable the connectivity-service check by changing the network.connectivity-service.enabled to false.
You can learn more about all Firefox connections and URLs at the Mozilla Support Pages: https://support.mozilla.org/en-US/kb/how-stop-firefox-making-automatic-connections
My URLs
If you’re lazy or don’t have an own web server you can use my URLs too. Logging is disabled for this site:
http://conntest.yxa.at/success.phpAnd for IPv6:
http://conntest.yxa.at/success.php?ip6Source (works for both Firefox < 89 and >= 89):
<?php
$browser = get_browser(null, true);
if($browser["browser"] === "Firefox") {
        if($browser["majorver"] >= 89) {
                die('<meta http-equiv="refresh" content="0;url=https://support.mozilla.org/kb/captive-portal"/>');
        } else {
                die('success');
        }
}

die('<meta http-equiv="refresh" content="0;url=https://support.mozilla.org/kb/captive-portal"/>');
That’s it!
You should now see logs (if enabled) in your web server’s files when you start Firefox.
Make sure to check out my captive portal post for Android too.
No comments yet.