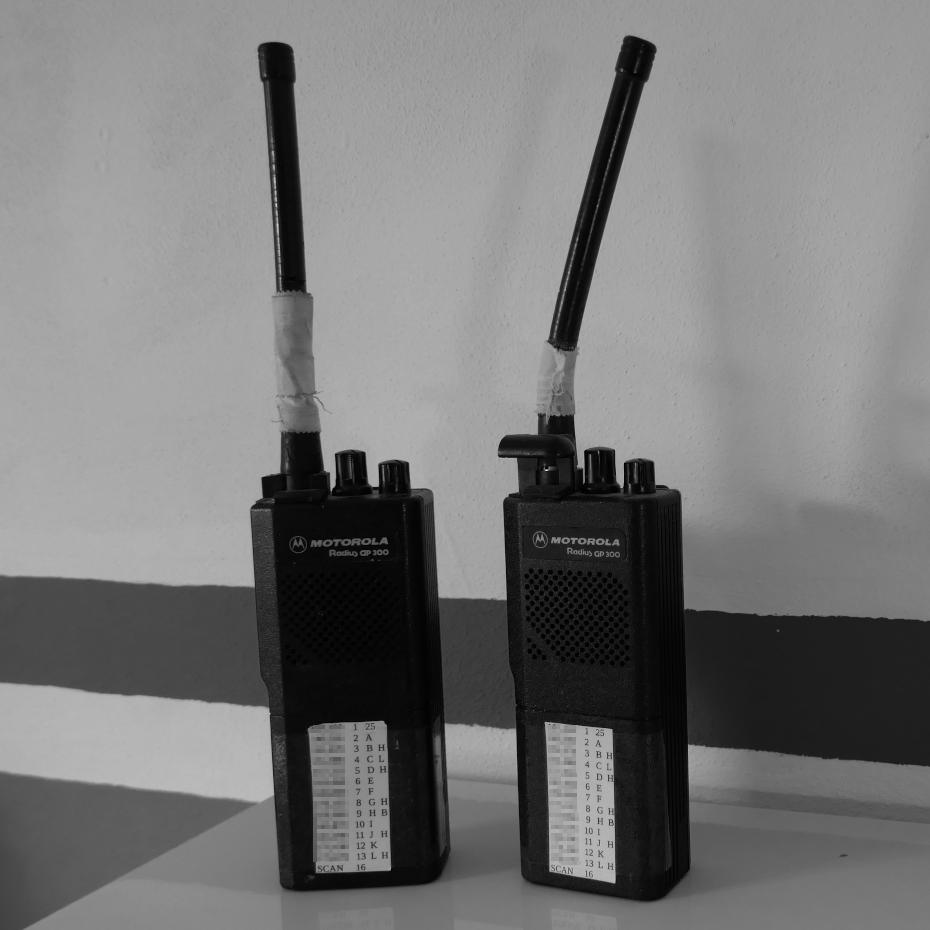
Motorola GP300: Programming in 2020
Yes, you got that right: Today, we’re going to program the old (but reliable) Motorola Radius GP300 – released more than 20 years ago around 1998, it’s older than me! Programming the radios isn’t that easy as they have to be programmed using a special MS-DOS software and using a “RIB-less” cable via RS232.
Needed hardware
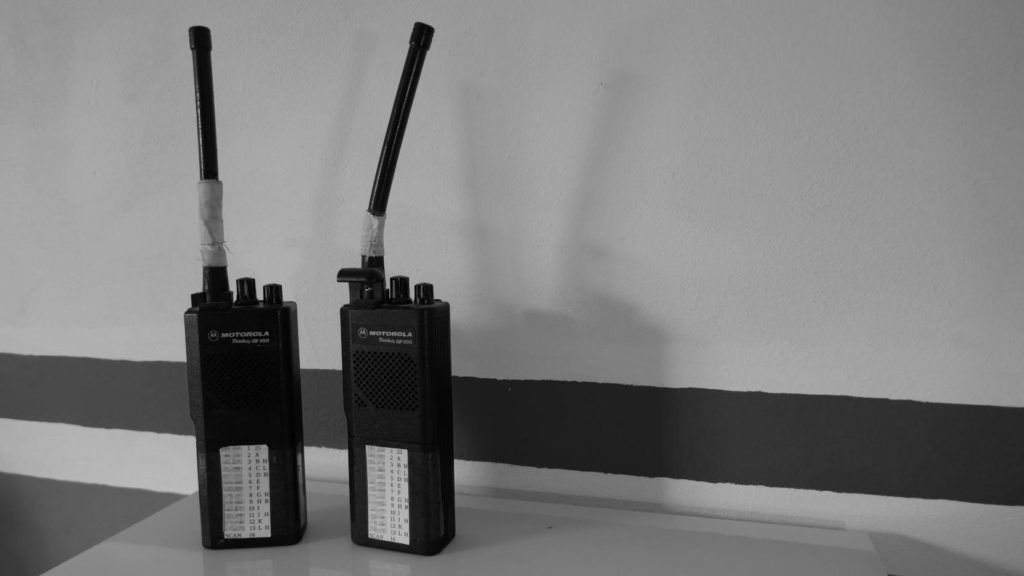
- Motorola Radius GP300
- PC/Laptop with RS232 serial interface
- … or a RS232 to USB converter
- 9V battery or lab bench power supply
- RIB-less programming cable (for the GP300)
You can buy those “adapters” on eBay pretty cheap.
Hardware setup
That’s the easy part: Connect everything. This includes the 9V battery with the VCC/GND wires, the DB9 serial port and the GP300 itself. You have to remove the GP300-battery and use the RIB-less “cable”.
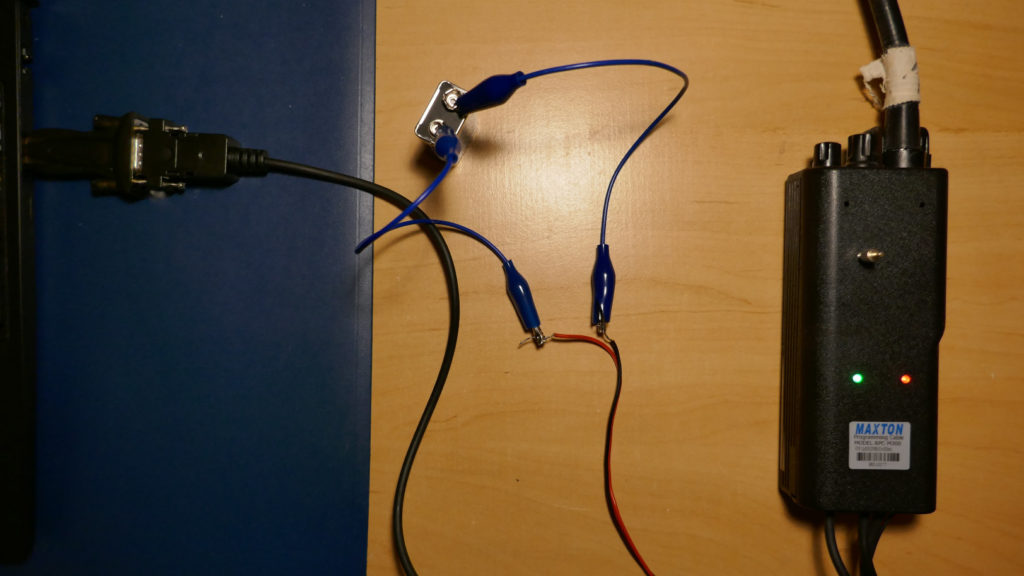
When connected to the 9V battery, the red LED on the RIB-less cable should be on.
Software setup
Finding the serial port
Find out the serial port. If you’re using Windows you might want to do that in the device manager (Win + R → devmgmt.msc) – serial devices start with COM and have a number at the end, e.g. COM3).
If you’re using Linux, you can read the syslog or enter ls /dev/ttyUSB* (if you’re using a USB adapter, if you use an internal port it might start with ttyS) in your terminal:
user@hostname:~$ ls /dev/ttyUSB*
/dev/ttyUSB0
Downloading and configuring DOSBox
As I mentioned earlier, we have to use MS-DOS to program the radios. Because of that, we’re going to use DOSBox.
Download it from https://www.dosbox.com/download.php?main=1 and install it. If you’re using Linux, start DOSBox once – it generates the config file on the first start.
Opening the configuration file (dosbox.conf)
Windows
Go to Start → All Programs → DOSBox-{version} → Edit Configuration
Linux
The configuration file for DOSBox is stored in .dosbox/ your home directory:~/.dosbox/dosbox-{version}.conf
Open the file with your favorite text editor.
Scroll down to the [serial] section in the file.
Edit the serial1 line so that it matches the following format:
serial1=directserial realport:COM1
Make sure that you use your real, physical COM port instead of COM1.
On Linux, an example might be ttyUSB0, on Windows it would be something like COM3. As my USB adapter is at /dev/ttyUSB0, I’m using the following configuration:
serial1=directserial realport:ttyUSB0
Required software
You’ll need to have the Motorola GP300 RSS software to program the radio. It’s often called GP300.ZIP and contains several files, including a GP300.EXE and a GP300.MDF. Unzip this file to a subdirectory – remember the path.
Start DOSBox (you might need administrative/root privileges to use the serial port). You can now press Ctrl+F11 several times to bring the CPU speed (cycles) down to ~211.
Mount the GP300 software directory with the following command:
mount c /path/to/the/directory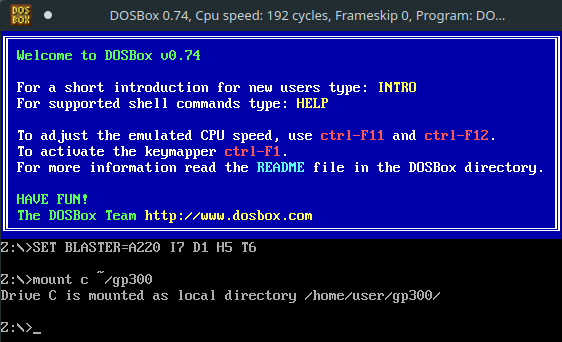
Switch to the directory by typing c: and pressing Enter.
Type gp300 and press Enter to start the programming software.
Press Enter at the credits screen and press F9 to go into the setup menu. When you’re there, use F3 to go to the PC configuration. Press enter twice to verify that RIB serial port is set to COM1 (which is our virtual serial port). If it’s not, use the arrow up/down-keys to change it.
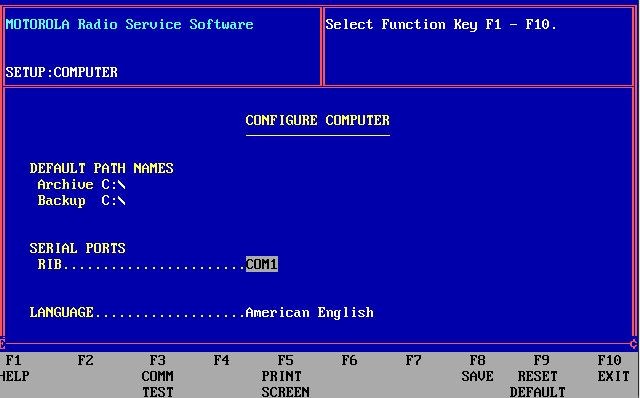
Press F8 to save it, after that, press F10 twice to go back to the main menu.
Reading the codeplug
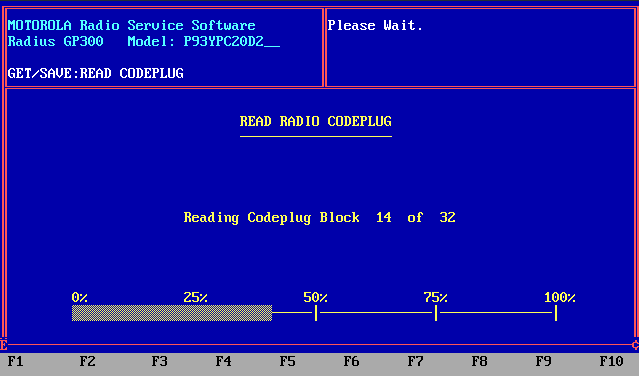
We’ll now “read the codeplug” – this means that we fetch the current settings from the radio. At the main menu, press F3 to go to the codeplug menu.
Make sure that everything is connected correctly and that the radio is turned on at this point.
The red LED on the RIB has to be lit.
As we want to read it with our RIB-less cable, press F2 to READ Data From Radio Codeplug. The radio should beep, green light flashing – the reading process starts.
If an error occurs, just try it again – check all the connections and the 9V battery.
Changing the modes (Programming)
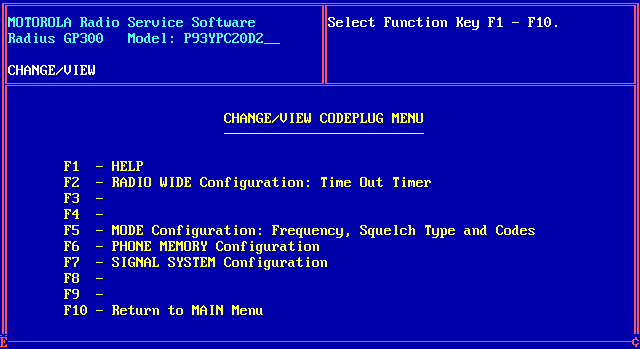
If everything succeeded you should now be in the GET / SAVE MENU again. Press F10 to go to the main menu. In the main menu, pressing F4 leads us to the CHANGE/VIEW CODEPLUG MENU.
Press F5 here to go to the MODE (channel) configuration.
The first channel should show up. Navigate between the several fields by pressing enter. You can now edit the RX/TX frequencies for each channel, hop between the channels by pressing F3 (prev.) and F4 (next).

Hint: You can use out-of-band frequencies by pressing Shift while entering the numbers (not while entering the dot). Important: You have to use a US keyboard layout or enter it like you would use a US keyboard! 142.3000 would be !$@.#)))) – Press Enter to apply the frequency.
You can find some more modifications (e.g. extending the 8-channel version to a 16-channel version) at http://www.batlabs.com/gp300.html
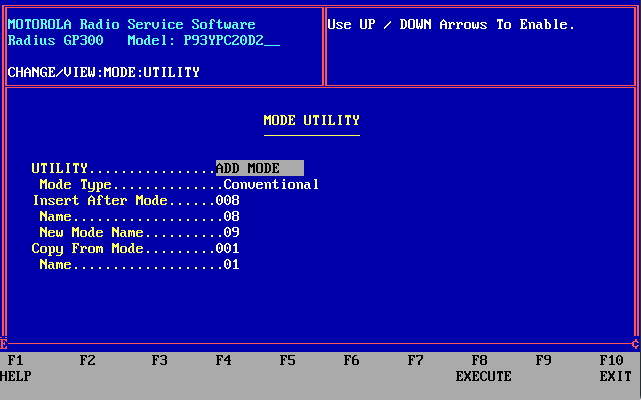
If you want to add or delete modes (channels), press F8 to do so in the MODE UTILITY.
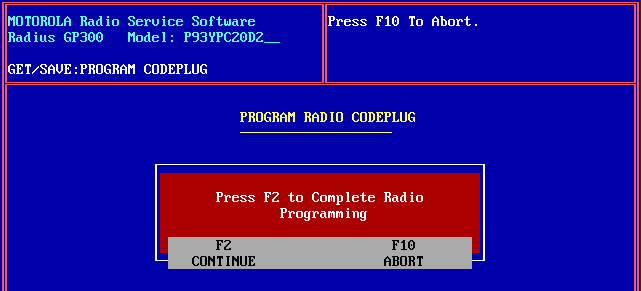
Writing the codeplug (Saving)
When you’re done changing, press F10 twice to go back to the main menu. Go to the codeplug menu again by pressing F3.
WARNING!
If an error occurs during the writing process, your radio could be damaged and as useful as a brick. Make sure that every cable is connected correctly and that the radio is turned on.
Press F8 to write the new codeplug data to the radio. Press F2 to confirm your action.
Finishing it
Wait until the write process has finished. If everything worked the way we all hope it does, you can now disconnect all cables from the GP300 and use the real battery again. Your new codeplug data should now be active.
The programming software has some other interesting features, just take a look at some other menu points. But, as always: Take care.
If you have any questions, don’t hesitate to write a comment (button on the right side of the page).
The process is well written and clear. I follow the steps but it never accesses the radio to extract the code plug. Keeps telling me it is accessing serial port. I am working on VMware virtual machine and normally all my ports etc work fine (for other programming and data transfer). Is there a maximum speed / baud to set the device to? Any other ideas?
The frustrating thing is I used to get it right, with the same cable etc. But that is a few years ago and I cannot remember how I did it.
Hello Jorgen,
thanks for the comment. One thing is really important when you’re using DOSBox: Turning the cycles down to around 211. It could be that your VM’s CPU is faster than that if you didn’t do anything like that. I never used VMware so I can’t really help out here. Are you using DOS in VMware or DOSBox?
Thank you, this is a very useful page and I’ve almost got where I need to be, but…
I can’t read the information from my GP300. Just like Jorgen’s comment, the software is accessing serial port but gets no further – I’m not seeing the green flashing light on the ribless connector or the beep from the radio either. I know I’m on the right COM port – I have two, but if I set the software to look at the wrong one I get an error message appear immediately. After struggling with this problem in DosBox for a few days (tried cycle speed at 211 then from 30 to 1,000 and everywhere in between) I bought an old computer with two COM ports which is running Win 98 in DOS mode and the problem is still the same.
Any hints?
Hi Chris,
the solution for Jorgen (he sent it to me via e-mail) was the following:
> I managed to program 3 GP300s with no problems when I changed from VMPLayer to Windows Virtual Machine.
> No further changes were needed, it picked them up immediately.
> I used Microsoft Virtual PC 6.0.192.0 and “gp300ivg” on COM1, USB to Serial cable and a Motorola Multi-cable.
Good luck!